How To Create A Knitting Tool Kit: Part 2
Welcome to part two of how to create a knitting tool kit. If you missed part one, click here!
Part one was all about the essentials – items that I think are necessary to help you be successful with your knitting. Part two will tell you about more items that are great to have in your knitting tool kit, but these are items that I consider maybe not quite as necessary, but definitely helpful. And then I’ll tell you about some nice-to-have items.
As I said in Part 1, your local yarn shop will likely have many of these items so please shop local if you can. If you are having a hard time finding something, I’m including some links to buy online.
Some Not-As-Necessary-But-Definitely-Helpful Knitting Tool Kit Items
These items are those that are not really necessary, but will bump up your knitting confidence even more and just make things easier all around. They are not quite as obvious as needing knitting needles and stitch markers.
Highlighter: Marker and tape
Highlighting tools are great for helping you keep track of where you are in your knitting pattern. A highlighting marker is especially great for marking the size you are knitting when you have a pattern that allows you to knit multiple sizes. Sometimes all those numbers start running together, so if you make a copy of your pattern (which you should only do for your own use and not to give to someone else, due to copywrite rules) and mark the size you are knitting, it will be much easier when you get to each section of the pattern.
But there is also something called highlighter tape! This is a strip of re-positionable, see-through neon tape.
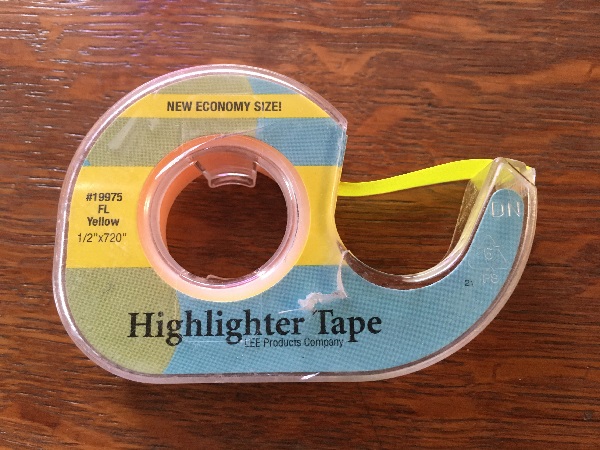
It works in the same way a sticky note works in that you can put it down, then pick it up and move it somewhere else. This is perfect when you are using a chart for your knitting:
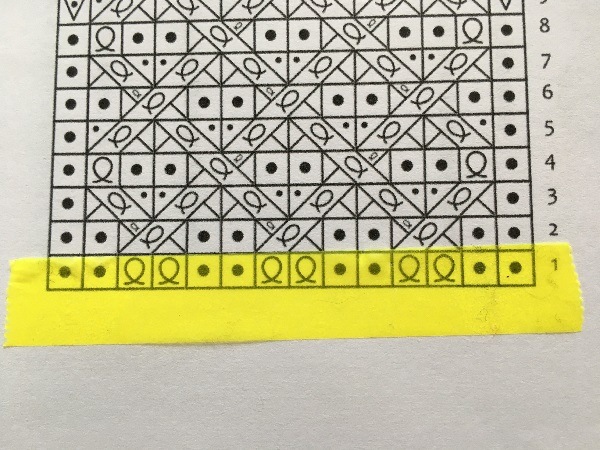
Or you can just use it to highlight the row you are working on in your pattern so when you look back to the pattern from your knitting, your eye will go to the correct row. Removable Highlighter Tape
Sticky Notes
Speaking of sticky notes, I have often called sticky notes the best knitting tool out there! Not only can you use it to help you see which row you are knitting (written or in charts), and keep moving it as you go, but you can keep notes and keep track of repeats right there where you can easily see them! Plus they are pretty inexpensive and widely available.
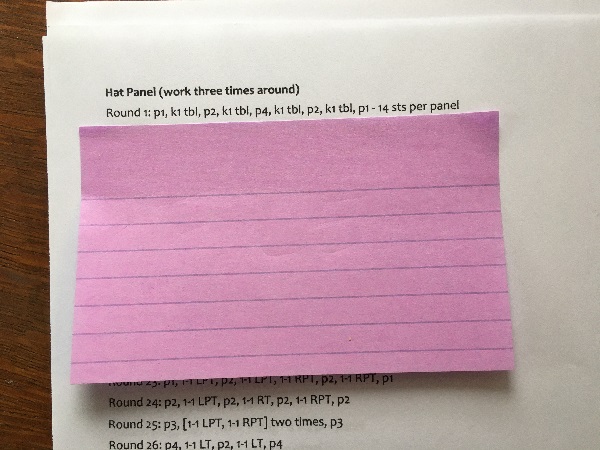
I prefer the longer notes, since they can cover most of a row. Post-it Notes
(By the way, pen/pencils were not on my original must-have list, so I’m adding them here. Easy to overlook something so obvious!)
Tape Measure
A tape measure (or four) is definitely useful when you are getting into larger projects or those that specify a certain length/width. As you can see, I have several.
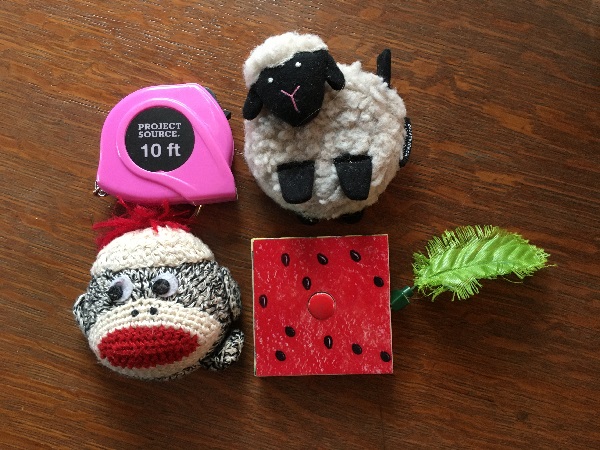
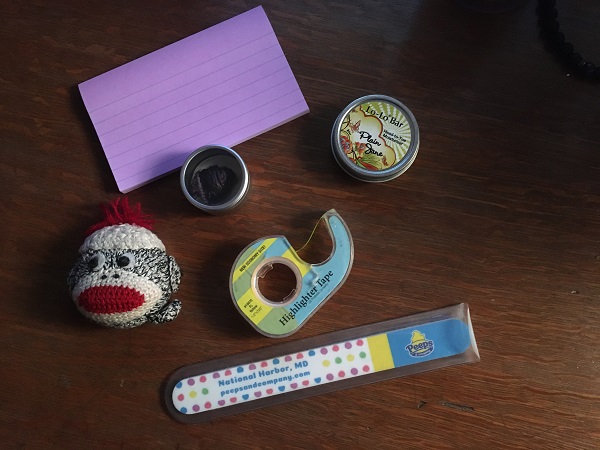
This doesn’t rival my stitch marker collection, but I can’t pass up a cute tape measure. (My fav is the sock monkey!)Sock Monkey Tape Measure
Scrap Yarn
Who knew you’d need scrap yarn in your kit??? Some extra yarn can be helpful if you don’t have a stitch holder – the yarn acts as the holder! Just use your yarn needle (see How To Create A Knitting Tool Kit: Part 1) to thread the yarn through the stitches that need to be held. I find this particularly nice for the sleeves of sweaters because sleeve holes are round and your typical stitch holders are not. The stitch holders are straight and rigid so using yarn as the stitch holder helps keep the sleeve stitches from stretching out.
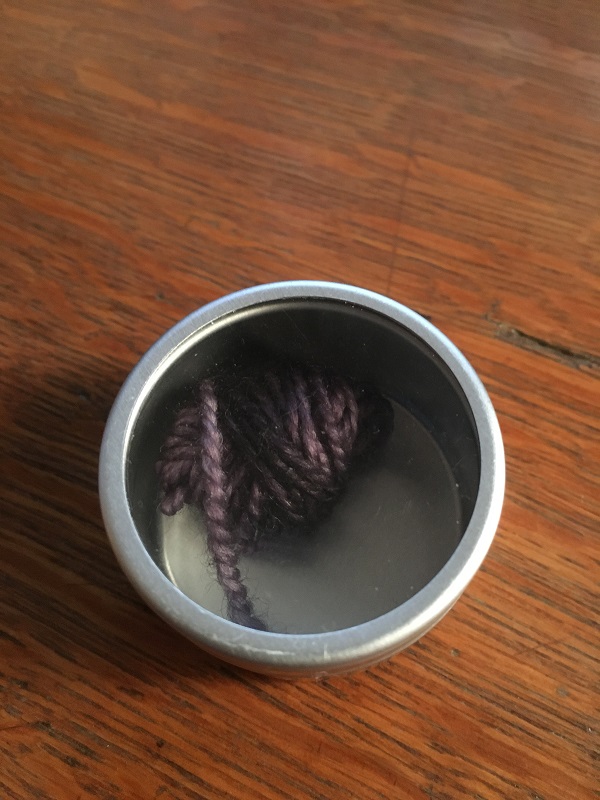
Scrap yarn can also be used as a lifeline in your lace knitting. Again using your yarn needle, threading a piece of yarn through a completed row of stitches will help you get back to a “safe” row if something goes awry further along in your lace knitting.
Just wind up a little ball using yarn left over from a finished project and tuck it in your kit. I put mine in a little stitch marker container I had. A fingering or DK weight yarn is a good thickness/weight to use for most projects.
Nail File and Hand Lotion
Believe it or not, one of these days you are going to find the need for a nail file or hand lotion while you are knitting. And it will happen when you are not at home.
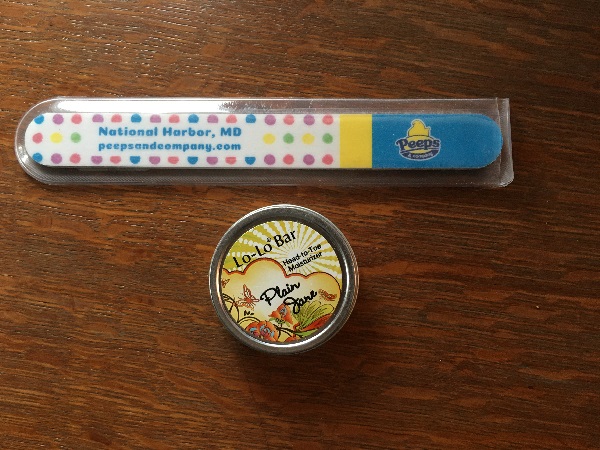
A nail file will save you when you break a nail so it won’t snag your yarn. And that lotion will be great when your hands get really dry in the winter and the yarn snags on your skin. Just be sure to try to find a lotion that is not very greasy, or absorbs quickly. Trust me, you’ll be happy you have these at the ready.
The Nice-to-Haves
These last few suggestions are items that are definitely not necessary but are just really nice to have. And they don’t really fit into a knitting tool kit container.
Ball Winder
Some of the yarn you buy will come in a skein, and will need to be wound into a ball. (If you are not sure if yours needs to be wound, ask at your local yarn shop.) If that is the case, a ball winder is great.
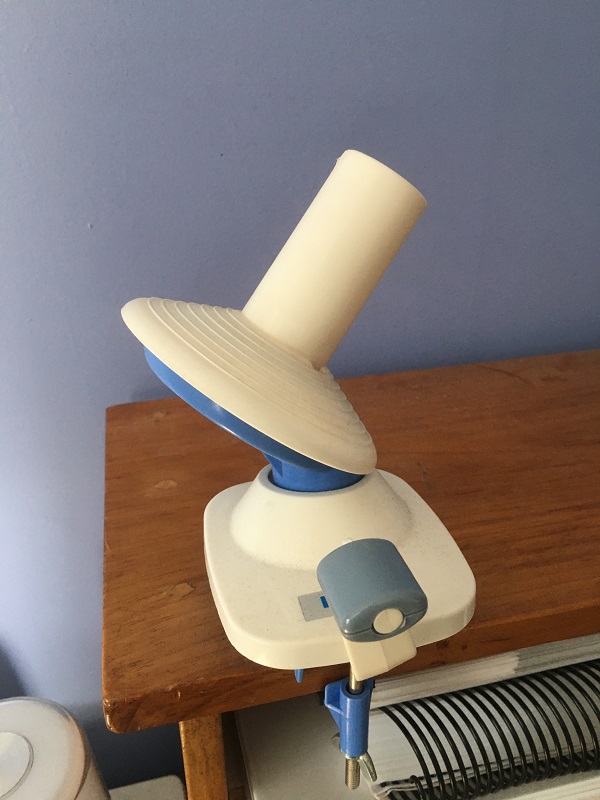
A “ball” winder is a bit of a misnomer. When you wind up your yarn with a ball winder you get a nice, neat, center-pull “cake” of yarn. It’s not ball-shaped.
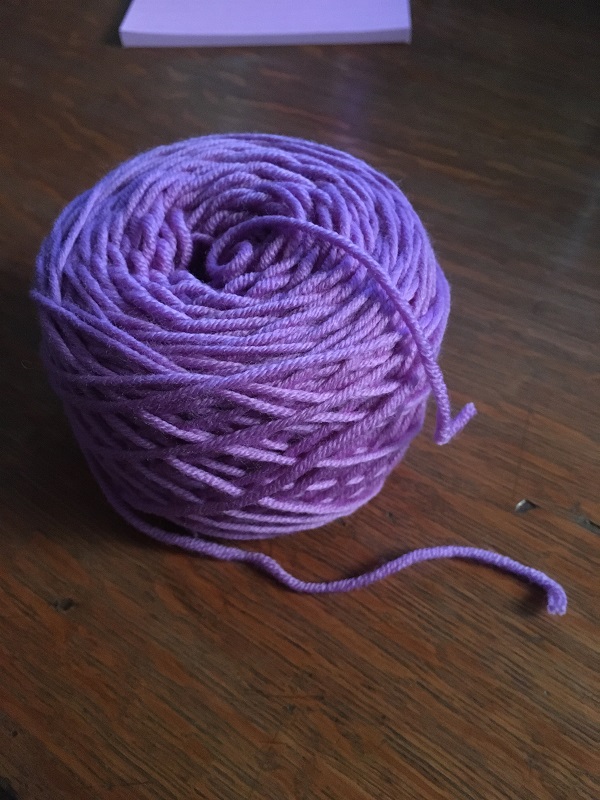
Having a ball with a “center pull” helps your yarn stay put rather than rolling all around. It can be handy when you need to use two strands of yarn but you only have one cake: You can knit with the outside strand and the inside strand at the same time. Yarn Winder or Yarn Ball Winder
Yarn Swift
A swift, also called an umbrella swift for how it opens and closes, is another tool used to help you get your skeins into balls or cakes.

The swift holds the skein of yarn open and spins around while you wind the yarn into a ball. This can be used with or without a ball winder. Without a ball winder, you will get a true ball shape with yarn only pulled from the outside of the ball. Yarn Swift or Yarn Swift,Wooden
Having both a ball winder and a swift is ideal as it allows you to wind your yarn into cakes by yourself:
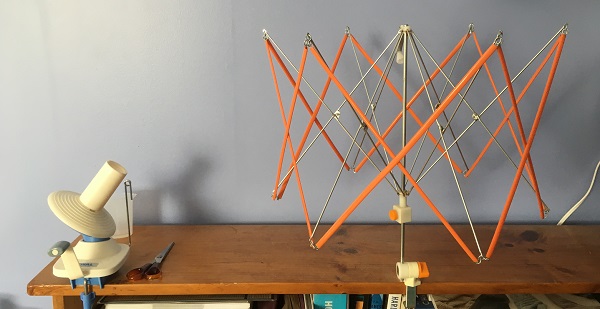
However, buying both can be somewhat pricey so if you have to choose one, for budgetary reasons, I would get a swift. That way you will not have to have someone else around to hold your skein of yarn while you wind it into a ball.
Side Note: When I owned my yarn shop, a gentleman came in at holiday time and plunked a swift on the checkout counter. He said, “I’m tired of being the swift.” HA! Funniest husband comment ever.
Yarn Scale
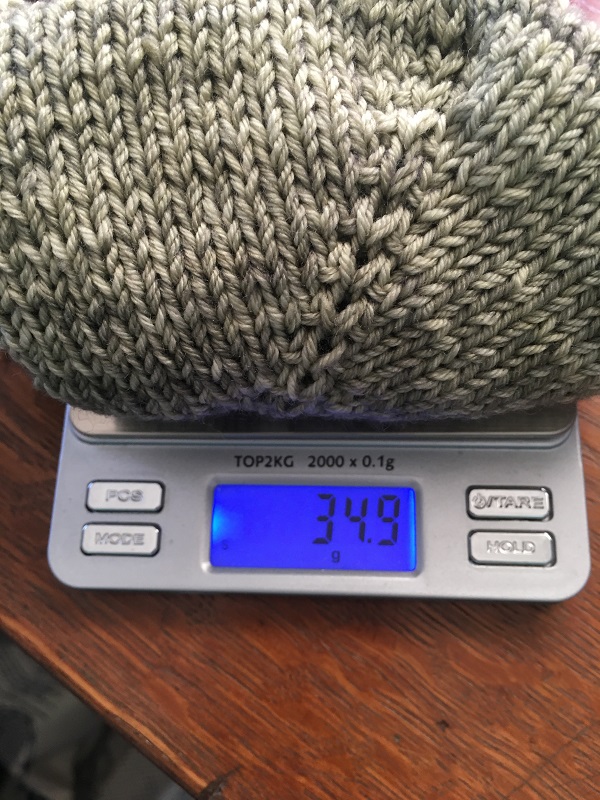
I have gone on and on about why a yarn scale is useful in this post (click there). Go there and read about it. I love mine. Yarn Scale (aka kitchen scale)
Wrapping Up
Whew! These past two posts are packed with information on items I hope you will find useful and helpful in your knitting.
Please let me know in the comments bleow if you have and like any of these items, and why you like them!

I have everything but the swift and love and use them all. The yarn ball winder has been a Godsend. Sticky notes and the highlighter tape are fantastic! Thank you for your blog!!
Thanks Bea!
Great tips! Thanks Liz
Hi Annette! You are welcome – I hope they help!
Since I have taken a few of your classes, I have all those things you suggest. Just got the swift and ball marker and it helps a lot! I totally enjoy your posts, Liz. Thanks so much.
Joanne
Yay! Thank you Joanne – I’m so glad my suggestions helped you!