How to Create a Knitting Tool Kit: Part 1
I often teach a fixing mistakes class at my local yarn shop The Spinning Room. It’s a popular class and most participants leave having had several “aha!” moments as well as being more comfortable knowing what to do when they find a mistake in their knitting. The very first thing I talk about in my class is that a good defense is the best offense: Having a well-stocked knitting tool kit will go far in helping you avoid mistakes (see also 5 Basic Rule to Help Avoid Mistakes in Your Knitting) and fix your mistakes, but it is also handy for your everyday knitting needs.

This post is all about what items I suggest you have in your basic knitting tool kit. In another post, I’ll tell you about some unconventional knitting tools as well as tools that are nice to have, but not necessary.
Your local yarn shop should have many of the items I am mentioning. I encourage you to browse and shop local! However if there are items you cannot find, I am putting some links to where you can find them online.
First things first: The Tool Kit Container
Your knitting tool kit should be housed in an appropriately sized container. So that means as your kit grows, so might the size of the container. Choosing a container is very personal and you may need to experiment to find what works best for you. I have settled on this zippered pouch that measures 8″ x 5 1/2″:
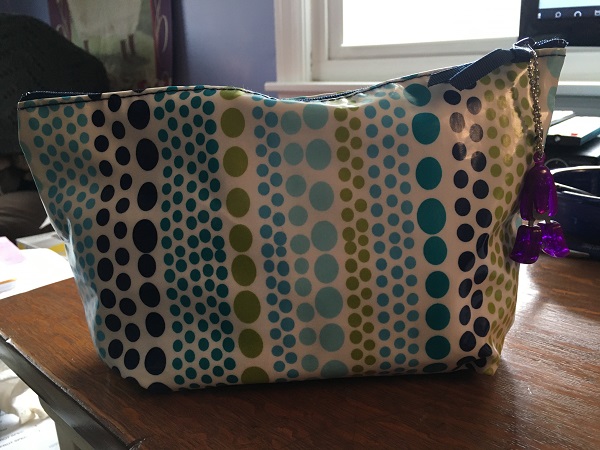
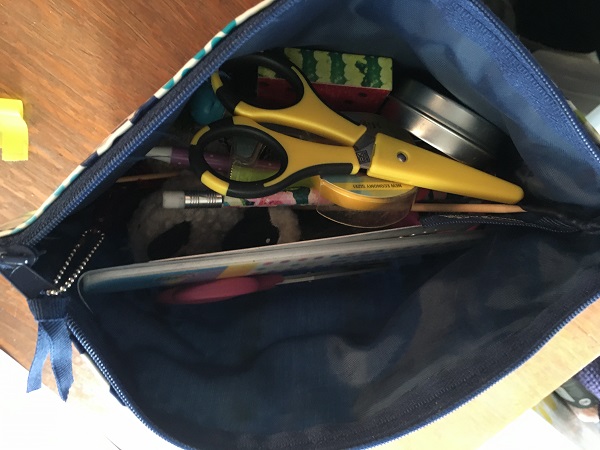
I know, it looks messy in there but trust me, I can find anything I need!
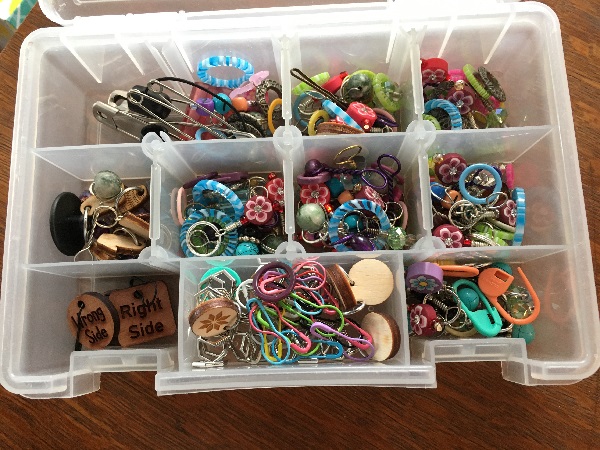
But to be honest, it’s still not quite big enough and I’ve had to create a tool kit annex. See why in the next section…
Knitting Tool Kit Contents
These items are what I consider the basic must-haves for your knitting tool kit. I’ve made some comments about why I like them and what works best for me.
Stitch Markers
Round markers – Good for marking stitch sections on your needle when you have a repeating pattern. CLOVER Stitch Marker Rings
Locking markers – These are a great all-purpose marker and work like a safety pin. Like the round markers, they are good for marking stitch sections on your needle, but you can also remove them from the middle of a row if you have mis-placed one. In addition, you can attach them to the knitted fabric to mark the front or back of your work. Finally, you can use them to keep a dropped stitch from dropping further while you get back to fix it! CLOVER Locking Ring Markers
It is helpful to have different colors of stitch markers for helping to distinguish different parts of a row. For example, if you are making a patterned hat, you may use purple stitch markers to mark the various stitch repeats, and use a blue marker to indicate the beginning of your round.
I seem to have an obsession within my knitting obsession and that is for stitch markers. I love to find new, different, or interesting stitch markers at the various yarn shops I visit. So, I have created an annex to my knitting toolkit and have a stitch-marker-dedicated container.
Crochet Hooks
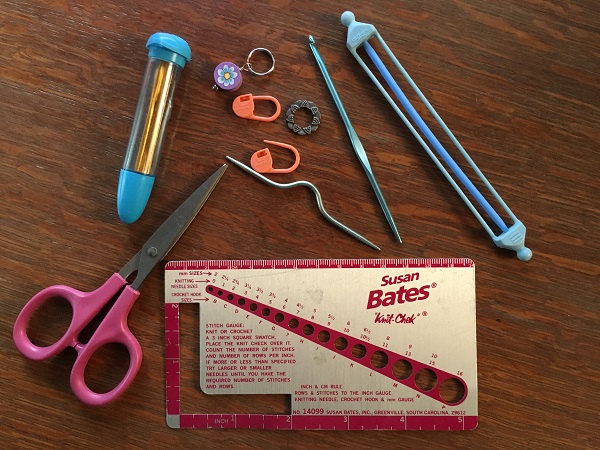
Aside from using them to crochet, crochet hooks are the perfect tool for helping you pick up dropped stitches. Having them in several sizes will help when you are using thicker or thinner yarn.
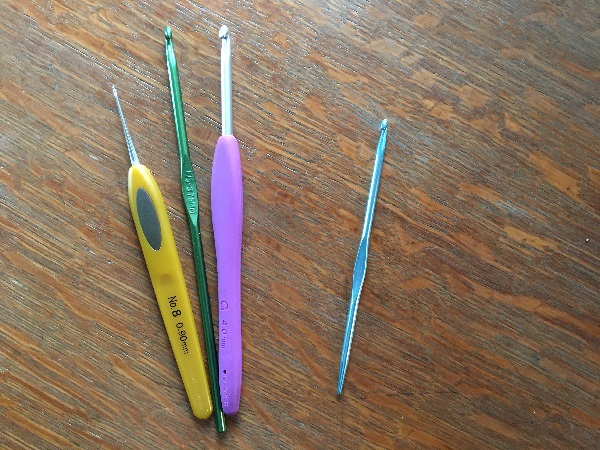
A Handi Tool (right side of above picture), although only available in one size, is even better because it has a crochet hook on one end and a knitting needle tip on the other end.
Cable Needle
When you are ready to venture into knitting cabled patterns (which you should totally do right now, because cables are way easier that you think) having a cable needle is a must.
Cable needles come in different forms and you may need to try some out before you find which one is right for you.
There are hook shaped cable needles and bent cable needles:

The little bend you see in the middle of the cable needle helps the stitches stay on the needle while they are “on hold.” Knitter’s Pride Cable Needles
I don’t have a hooked needle to show you but many knitters feel more secure using this type of cable needle since it is less likely that your stitches will fall off while they are “on hold.” CLOVER U-Cable Stitch Holders
In a pinch, a short double-pointed needle can be used as a cable needle (green needle on the bottom of the above picture). I have even used a pencil!
Cable needles are also great for holding a few stitches when you are trying to get back to a mistake on your needle.
Needle/Hook/Stitch Gauge
A great multi-purpose must-have for your knitting tool kit!

Sometimes your needles/hooks may not come with the size printed on them, and sometimes they do but the size has worn off. This will help you know if you are using the correct needle size.
In addition, while I have a huge aversion to knitting gauge swatches for my projects (I’m impatient and it’s boring), when I do knit a swatch, this tool will help me know if I am getting the correct number of stitches per inch (and therefore, will know if the item will fit properly!) That’s what the L-shaped cutout is for. Finally, it’s got a ruler on it for your measuring needs. Susan Bates Needle Gauge
Yarn Needle
The yarn needle is another must-have for your knitting tool kit, both for weaving in ends and sewing sweater pieces together.
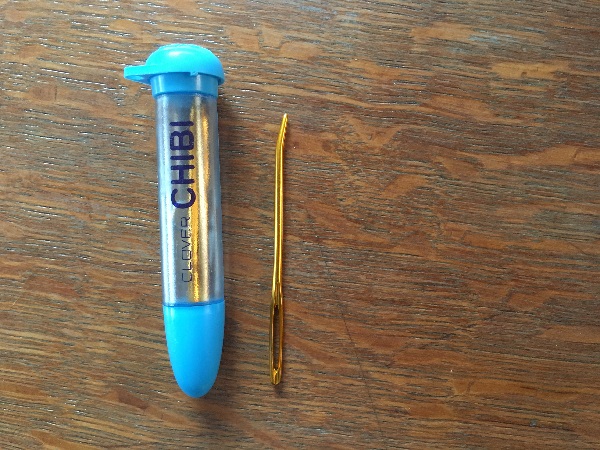
Even though weaving in ends is my least favorite part of a knitting project (it is really boring), there is often not a way around it. Trust me, if there is a way around it, I will do it. For example, sometimes I just tuck the toe end into the inside of the sock instead of weaving it in. No one sees it and it doesn’t tickle your toes or anything. Voila – a time-saving workaround!
I like to use the bent-end yarn needles (see the picture above) since that bent part helps you get into the stitches for weaving in ends but also helps find the stitches you need to go under when you are working the mattress stitch seam. CLOVER Chibi Bent Needle
Stitch Holders
When you are working on thumbs for mittens or the shoulders for a sweater, stitch holders come in handy.

Again, there are different types. On the left in the above picture is the safety-pin type. I find the small ones in particular useful for thumbs in mittens. However, the drawback to these is that you have to transfer the stitches back to a needle when you are ready to work them, because stitches can go on and off only one end of the holder. A bit of a pain for someone impatient like me.
On the right in the above picture are double ended stitch holders. These are great for holding more stitches and because of the design, you can just knit the stitches right off the holder from either end. CLOVER Double-Ended Stitch Holder
And, by the way, another type of stitch holder, in a pinch, is a piece of yarn!
Point Protectors
Point protectors should really be called stitch protectors. This category is the outlier for my knitting tool kit because I don’t have any! But I recommend for new knitters especially.
These go on the ends of your needles when you put your project down, so the stitches will not fall off. I use circular needles almost exclusively now and there is an easy way to push all the stitches to the middle of the cable to make sure they do not fall off. So, these are most useful for straight or double-pointed needles.
Just be aware that these come in different sizes to fit narrow and wide diameter needles. CLOVER Point Protector
Scissors
A small pair of scissors or snips will help when you are snipping your yarn to change colors, when you are finished binding off or when you are weaving in ends. It helps if they are sharp!
I most often use these adorable Hiya Hiya Puppy Snips that were gifted to me by my friend Janell. They are perfect because they just hang out on the zipper pull of my knitting tool kit.
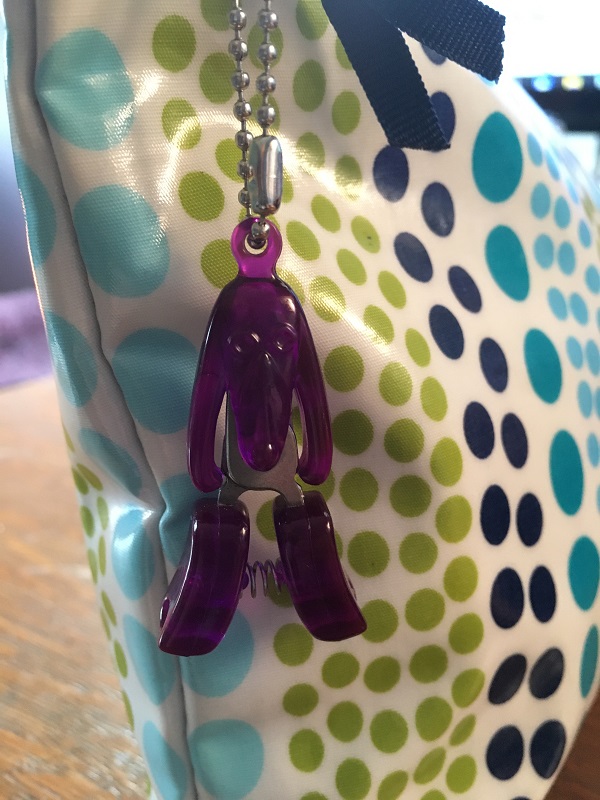
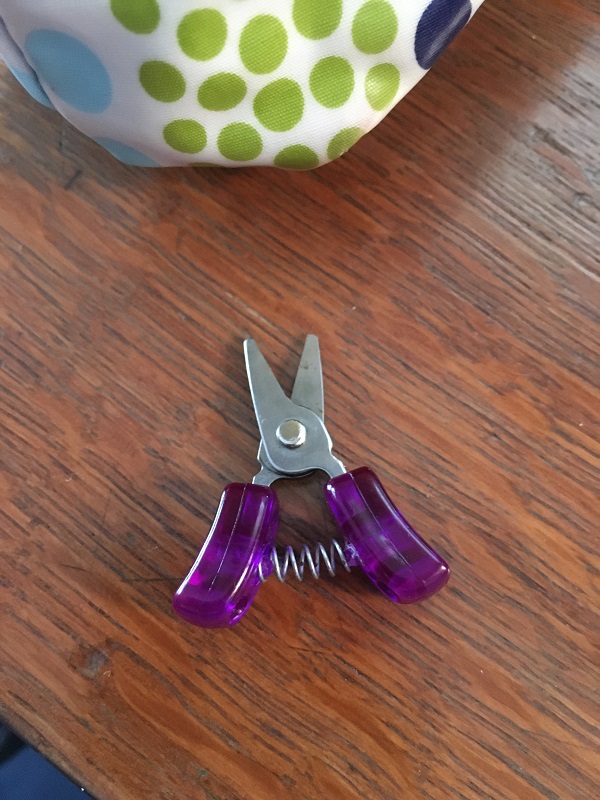
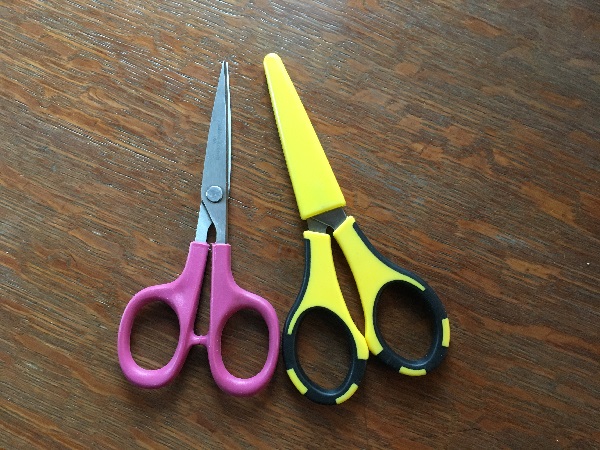
Although you can see that I have a few other scissors available. (There are kitty snips out there somewhere too!)
But that’s not all…
This list is not all that I have in my knitting tool kit. There are many other items that are useful and some that may surprise you. Stay tuned – I’ll show you those in the next post!
Do you have any of these tools? Are you inspired to beef up your knitting tool kit? Let me know in the comments.
Also, if you like my blog and think others will too, please share on Facebook, Instagram, Twitter or email.
One thought on “How to Create a Knitting Tool Kit: Part 1”